Last Updated on February 24, 2023
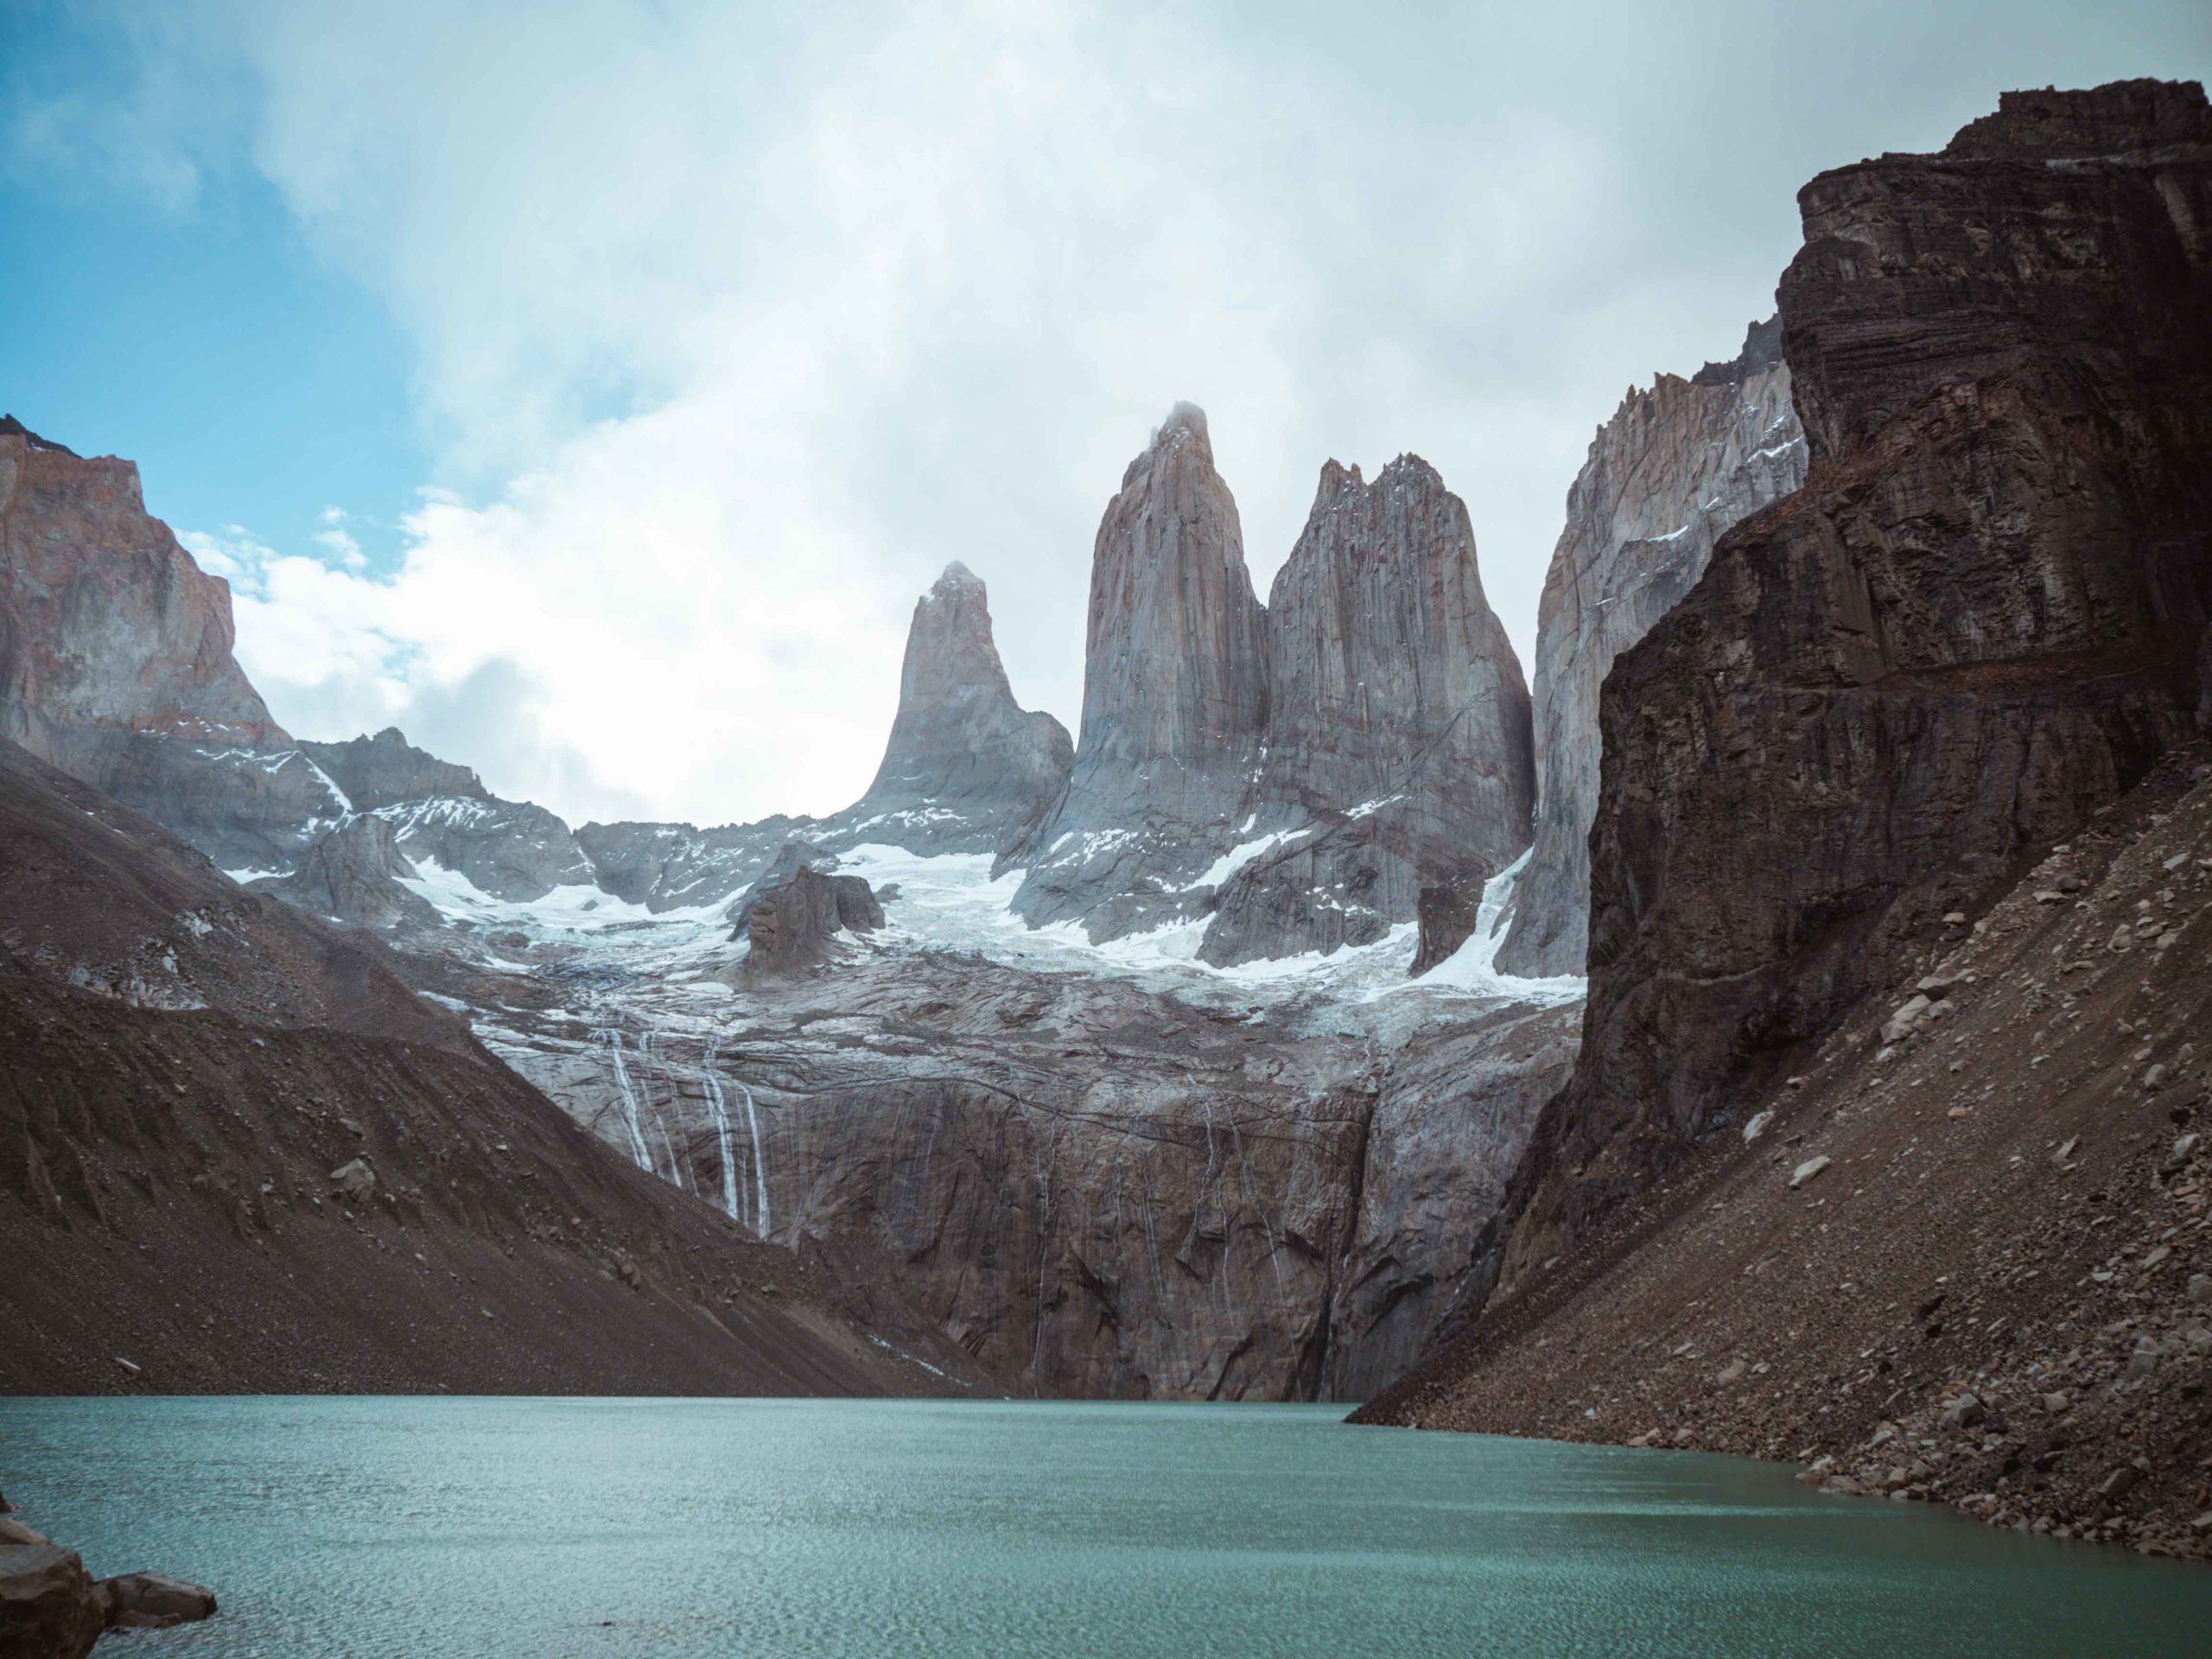
One of the most famous outdoor adventures of Chile – Parque Nacional Torres del Paine – is located in Patagonia surrounded by the mountain range Cordillera del Paine.
There are two main multiple day treks, the “O” and the “W” – both letters describing the path from areal perspective. The “W”-Circuit is done between 4 and 7 days and covers 80km on the southern side of the park, which is exactly what I chose to do.

Considering that I had never done any multiple day trek before, trekking with a guide, or at least letting an agency organize everything seemed the easiest, convenient option. However, once I saw the prices, my jaw dropped. As a student they really didn’t fit into my budget. I decided to do a lot of research and finally organized it by myself.
Finding all the information I needed was very overwhelming and took a lot of time. I hope by writing this blog post I can give all the necessary advice to help you organizing your low-budget W-Trek alone.
If you’re interested in my personal experience, click here to read it.
How to do it on your own
To make it simpler, I’ll start explaining in chronological order.
Know your route and how many days
As said before, the “W” trek is done in 4 to 7 days (I did 5). Depending on your budget and physical fitness, you can choose more or less days.
The national park itself provided this map, which I found really useful.
Next, you decide whether you want to trek from east to west or the other way round. This means you would either start with the climb to the famous 3 Torres or end with them. It’s important to know that this climb is 20km with an elevation of 760m up and down again.
Here are my personal pro’s and con’s:
- Torres at firstIf you start with the Torres, you’ll be full of energy to hike up and will already see the famous mountains on the first day. However, if you’re not used to trekking long distances or multiple days, it might already be a lot and you have a hard time managing the next days. Unfortunately, you will also experience a lot of people because you arrive late on top – except if you spent two days at the first campsite without hiking on the first day. In that case you can hike up for sunrise.
- Torres at the endWhereas if you end with the Torres (which I did), your feet will probably be dead since you’ve already walked around 60km. On the other hand, you can hike there for sunrise because you’ve already slept in the campsite there and it will remain the final highlight, which you can get excited for the entire trek. In addition, you will have the viewpoint almost to yourself, because many hikers come only for the day, and it will get full once the sun is out. Personally, for me it was also good to start with only 11km on the first day to get used to the big backpack and the trekking in general.

Book the campsite
Once you’ve decided the direction, it’s time to choose the camp sites. Oftentimes you have to book them months in advance, especially if you want to hike during high season (December to February). Due to the Covid-pandemic we were lucky and only booked everything 2 weeks in advance, but I’ve been told that under normal circumstances this is impossible.
The booking process is a little complicated because the national park is divided into different companies (CONAF, Vertice and Fantastico Sur), who all have campsites with individual websites.
CONAF is offering 2 free campsites (Camping Italiano and Camping Torres), but unfortunately, they have been closed during the time of my trek.
The company Vertice is coordinating the western part of the park and is running the campsites Grey and Paine Grande. The rest of the park is managed by the company Fantastico Sur including the campsites Francés, Los Cuernos, Torres Central and El Chileno.


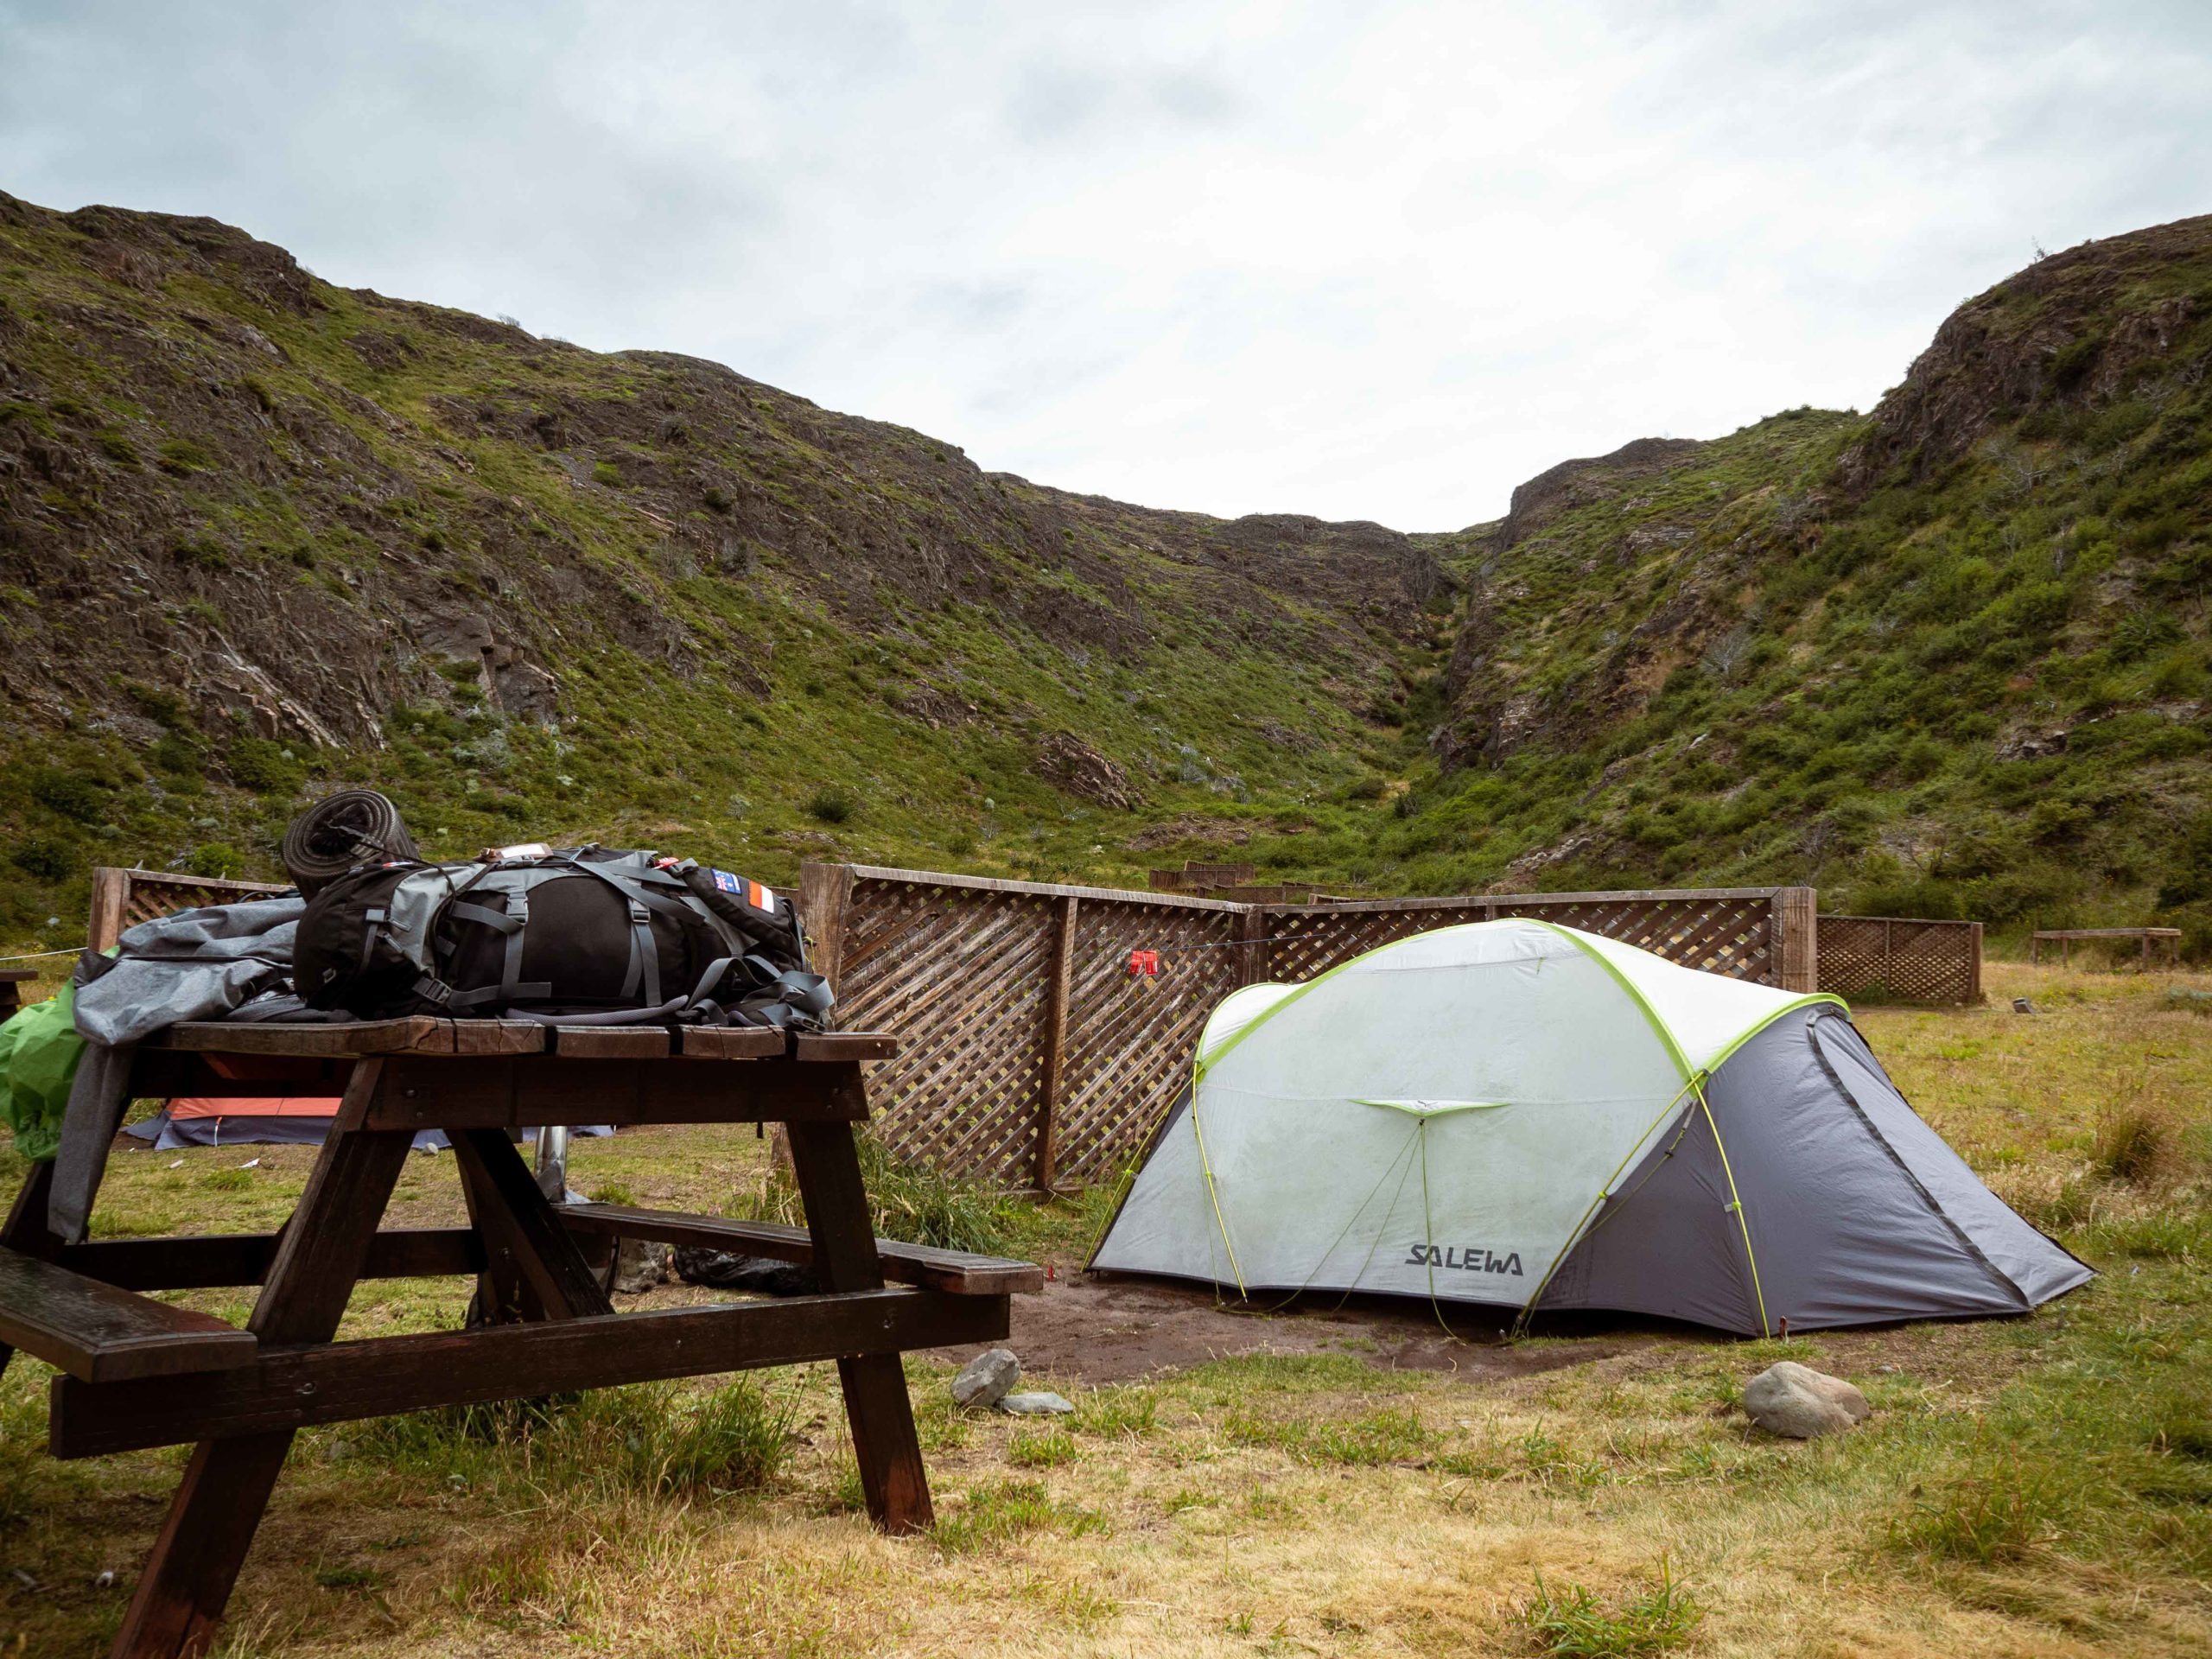
During the booking process you already have to be sure about the exact date on which you’re arriving at each campsite and how you want to sleep there. It is possible to rent a tent or to sleep in a tent that is already set up in all the campsites. In case you want to build your own/rented tent, you only have to choose the campground.
A route with campsites could look like this (my way from west to east):
- 1GreyYou start walking from Paine Grande and the next day the same way back.
- 2Paine Grande
- 3Los Cuernos
- 4Torres Central
In case one of the campsites is already booked out, you have two options. You can go for another campsite, which happened to me. Instead of going to the camping Francés, we went to Los Cuernos.
Another option is booking a tent that’s already set up or a space in the hotel/other sleeping options for one night. The price difference is huge, but we had to do it as well and found out that it can be nice if the tent is already set up once.
A very useful blogpost about how to deal with the campsites was written in detail here.
Go to Puerto Natales
The next step is booking your base before the trek. You need to consider one or two days before the trek to organize yourself, but also to be able to arrive early in the park on the first day.
The most common city is Puerto Natales, which is located about 140km south of Torres del Paine. There you can rent equipment and buy food for the trek if you need. I also found a pair of trekking pants for a cheap price and my friend a wind jacket.


If your plan is renting any equipment and you want to save money, Puerto Natales is the place to do it. For instance, we paid 6.000 CLP for one tent (2 persons) per day, that we rented in a shop. In the park, it was more than the double per night.
Furthermore, you can book the same hostel/hotel for the day(s) before the trek and after. You’ll most likely be able to store your additional luggage there for a small fee.
Rent/Buy/Bring equipment
No matter whether you want to rent gear in a local shop or bring it yourself, here is a list of what we had:
- Tent for 2 (rented)
- Sleeping bag (rented)It can be very cold at night, so make sure you either have a warm sleeping bag or wear many clothes. The sleeping bag I rented was until -17 degrees, but this also meant it was heavy and taking a lot of space, which you have to consider in your backpack.
- Matrass (rented)If there are multiple options about the thickness, the thinner one is usually the cheaper and the lightest option.
- Cooking set (rented)
- Gas bottle (bought)
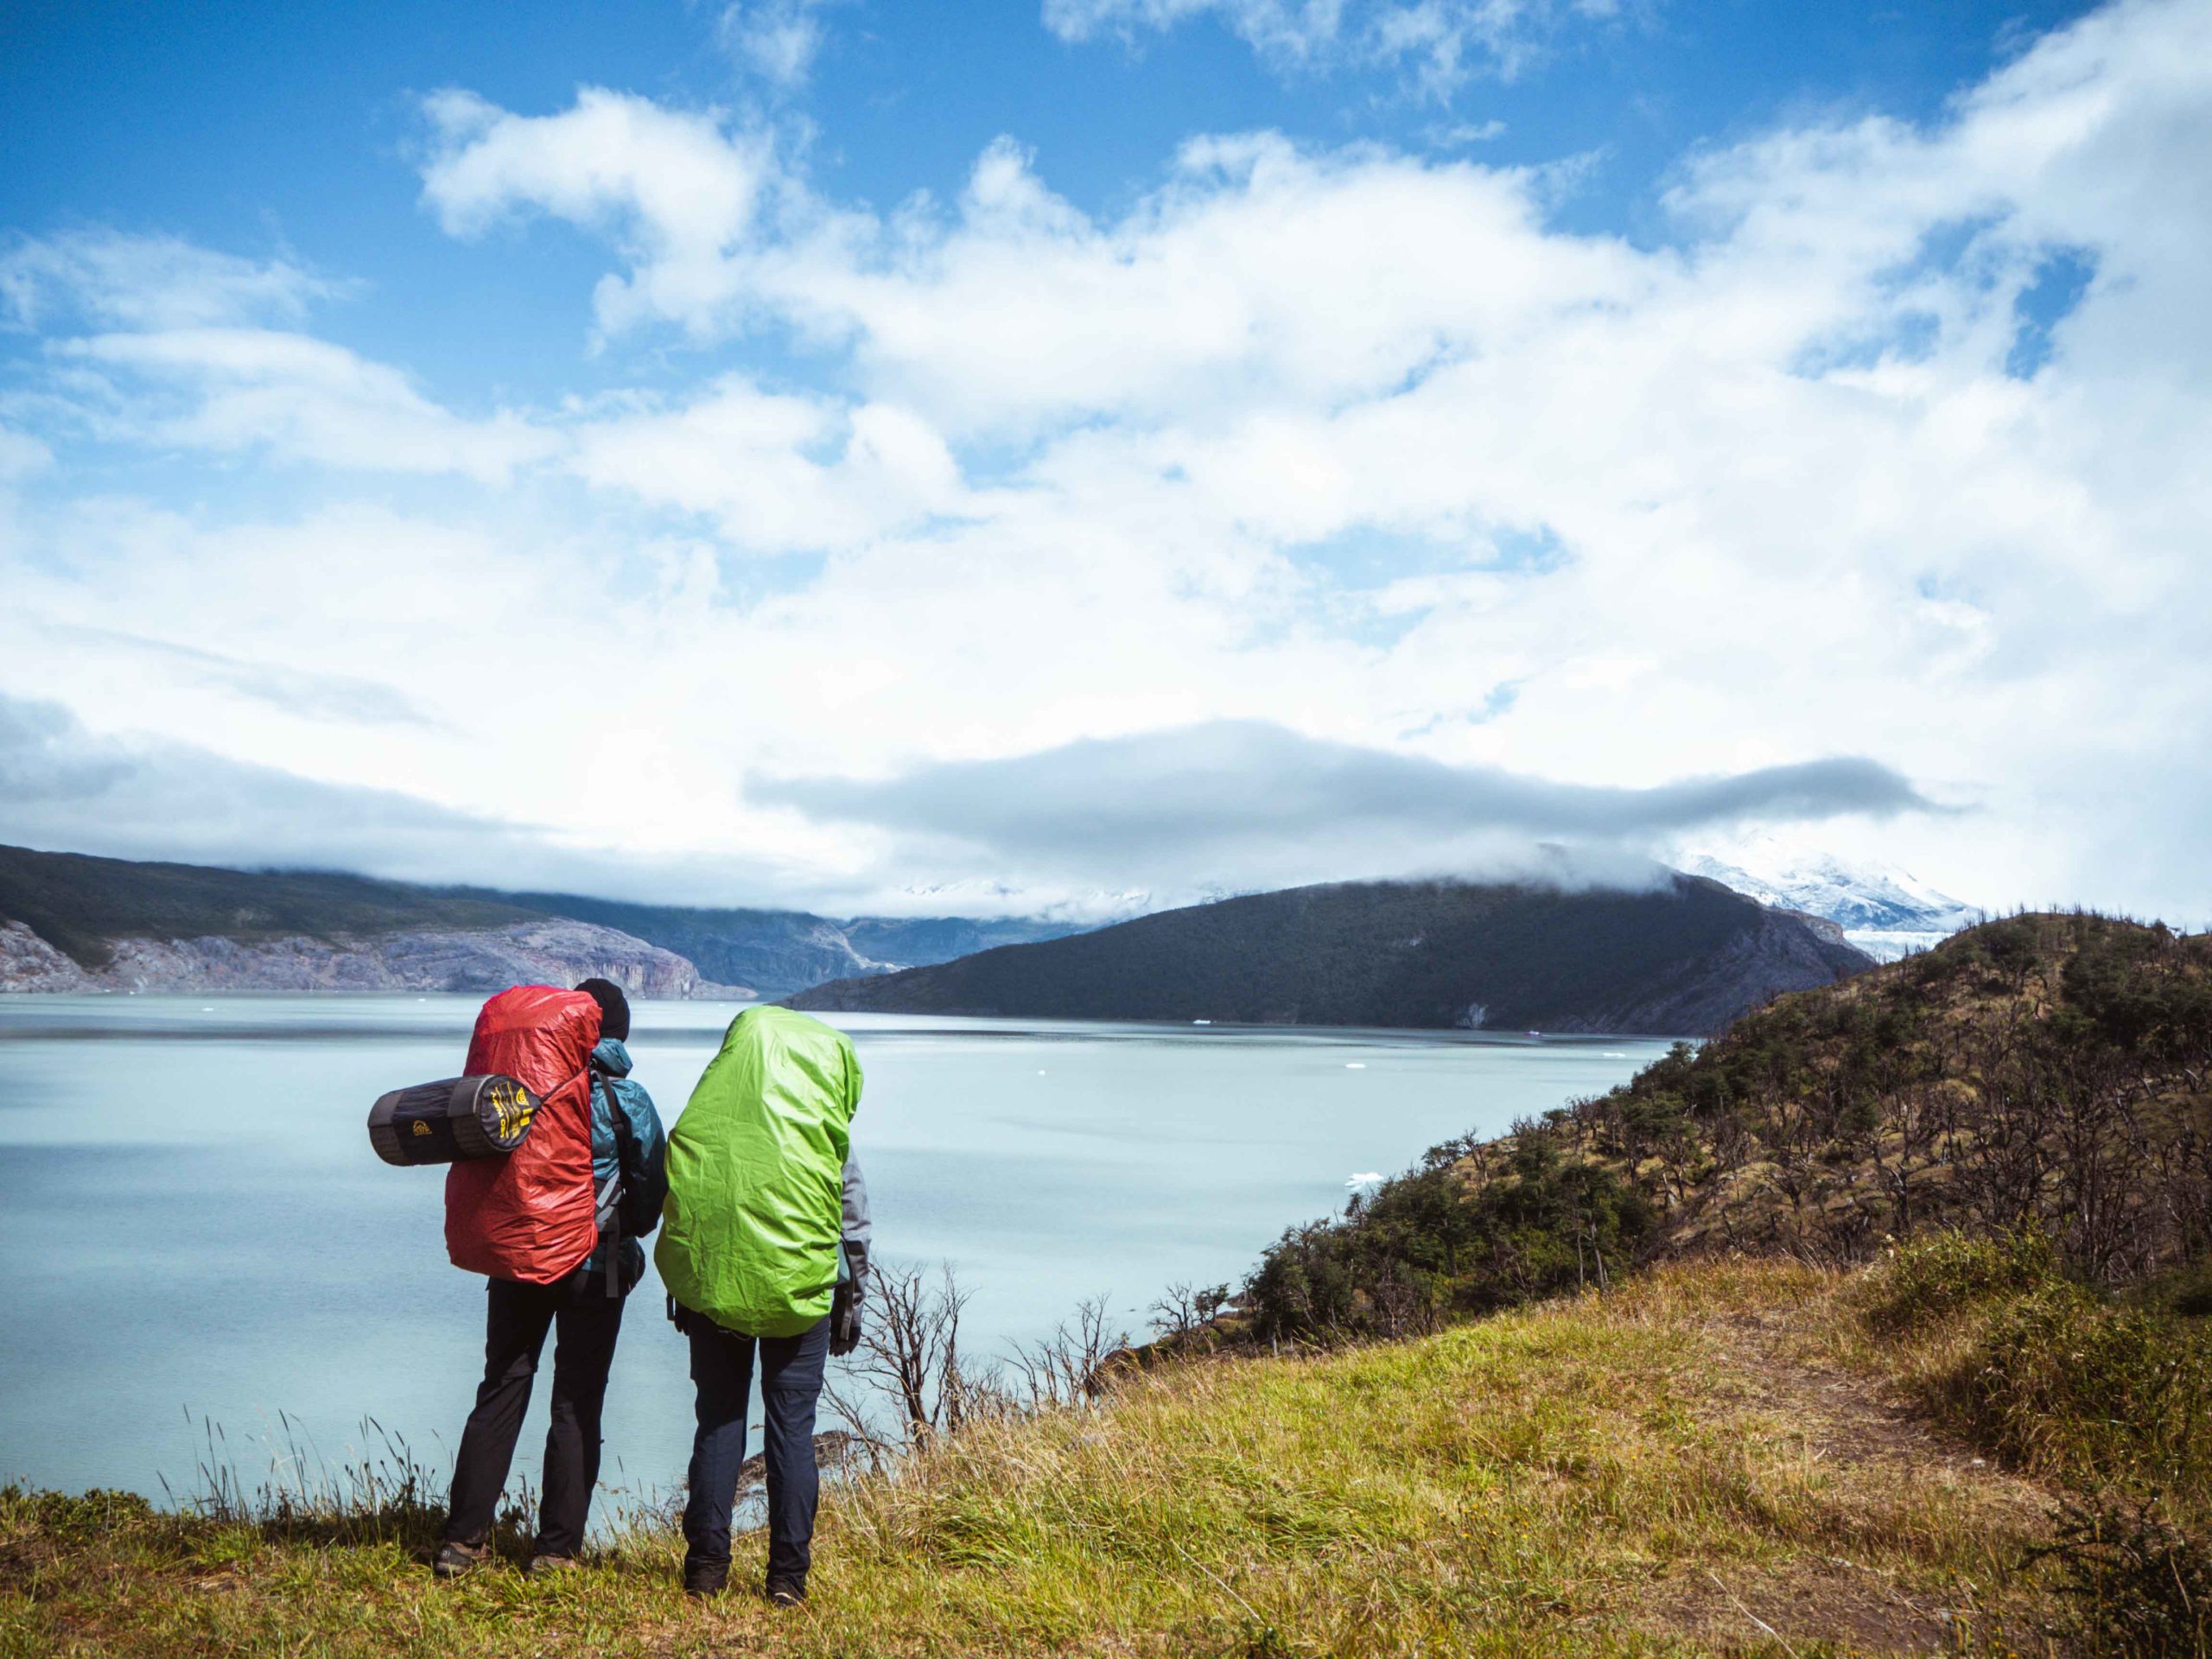
- Trekking backpack (owned)I used my normal backpack for backpacking.
- Pocketknife (owned)My friend had her own pocketknife which turned out really useful regarding preparing fast meals on the way, cutting things or just for any kind of emergency.
- Headlamp (owned)If you want to do the sunrise hike to the Torres, a headlamp is not only useful, but it is also necessary. Also, regarding handling things in your tent at night, you’ll be happy to have a headlamp.
- CashUsually, you won’t have many expenses once you’re already in the park, but you have to pay the catamaran (about which I’ll talk later). Every campsite has little snacks in a small grocery shop, so if you get a craving or are hungry, it’s good to have some cash. Furthermore, it’s always good to have some cash at the side for any kind of emergency or unexpected expenses.
- Mobile charger (owned)You won’t really need your phone in the park because there is no signal. However for taking photos or setting an alarm, it’s convenient and therefore a mobile charger is what you need because there is not always a place to charge.
- One roll of toilet paper


Pack your clothes
Before going on the hike, I had absolutely no idea how to deal with the clothes without bringing to much weight. The following method really paid off:
The basic idea is having two different sets of clothing, which you wear every day. One set of “dirty” hiking clothes and one set of clean clothes for sleeping/after shower. This way you are only carrying the sleeping clothes and save weight by wearing the same every single day.
Of course, it’s not the cleanest way and especially your hiking clothes will start to smell, but you will be happy to not carry a lot. Make sure you plan in layers, in the Torres del Paine you can experience all 4 seasons in one day.
Hike set:
Trekking pants, leggings (two layers for cold), sports shirt, sports sweater, softshell/wind jacket, gloves, beanie, hiking socks, hiking shoes, (fleece jacket), rain jacket
Sleep set:
Leggings, t-shirt, fleece jacket, socks, flip flops
Buy your food
Clearly you can eat in the restaurants at each campsite/Refugio. Obviously, you’d save weight and space if you don’t want to bring food, but it’s important to know, that the prices are high. For instance, one breakfast was 15.000 CLP at the Refugio Los Cuernos. There are also small shops at the campsite, for small needs.
Instead, bring your own food – bought in advance. This gives you the opportunity to buy specific trekking food. Yet, it is also possible to buy everything you need in the Unimarc supermarket in Puerto Natales, which I did.
Here’s an example of what we ate during the 5 days, trying to buy cheap and easy-to-prepare food:
- BreakfastOats + Water + Fruits + Nuts
- SnackCookies
- LunchTortilla + Peanut butter
- SnackGranola bar
- DinnerMashed potatoes + Beans / Pasta + Tomato sauce
- DessertChocolate

Three things we’ve learned: Firstly, we were way more hungry than usually due to all the physical exercise and we had to buy some snacks (cookies) in the small shops on the campsite. Consider either bringing more food in advance or bring cash for the small shops.
Secondly, we forgot salt, pepper and oil, which can really make a huge difference in your meals, and you might not find it in the campsites.
And thirdly, the chocolate in the night was really the absolute treat after a long day of hiking.
Arriving at the park & entrance
The entrance (multiple day pass) had to be bought online a couple days before the trek (January 2022) and it was not possible to buy it once you arrive at the park. There you only had to show the QR-Code of the reservation.
To arrive at the park, you’ll take the bus from Puerto Natales. Just go to the main bus station and buy your ticket from a company. Make sure you go with the earliest scheduled ride possible to have enough time for hiking on your first day. Moreover, buy the return ticket as well, so you’re already set, when you finish the trek. It is possible to take an open date for the return.

Once you arrive at the park, you must get off and show the QR-Code. Then it depends from which side you start the trek.
West:
You’ll go back to the bus, which takes you to the catamaran. There you have to pay the catamaran ticket (25.000 CLP in January 2022) and you’ll arrive at the camping Paine Grande.
East:
You’ll go back to the bus, which takes you to Camping Torres Central.
Make sure you ask the bus driver where he continues after the main entrance – maybe you have to change the bus.
General tips
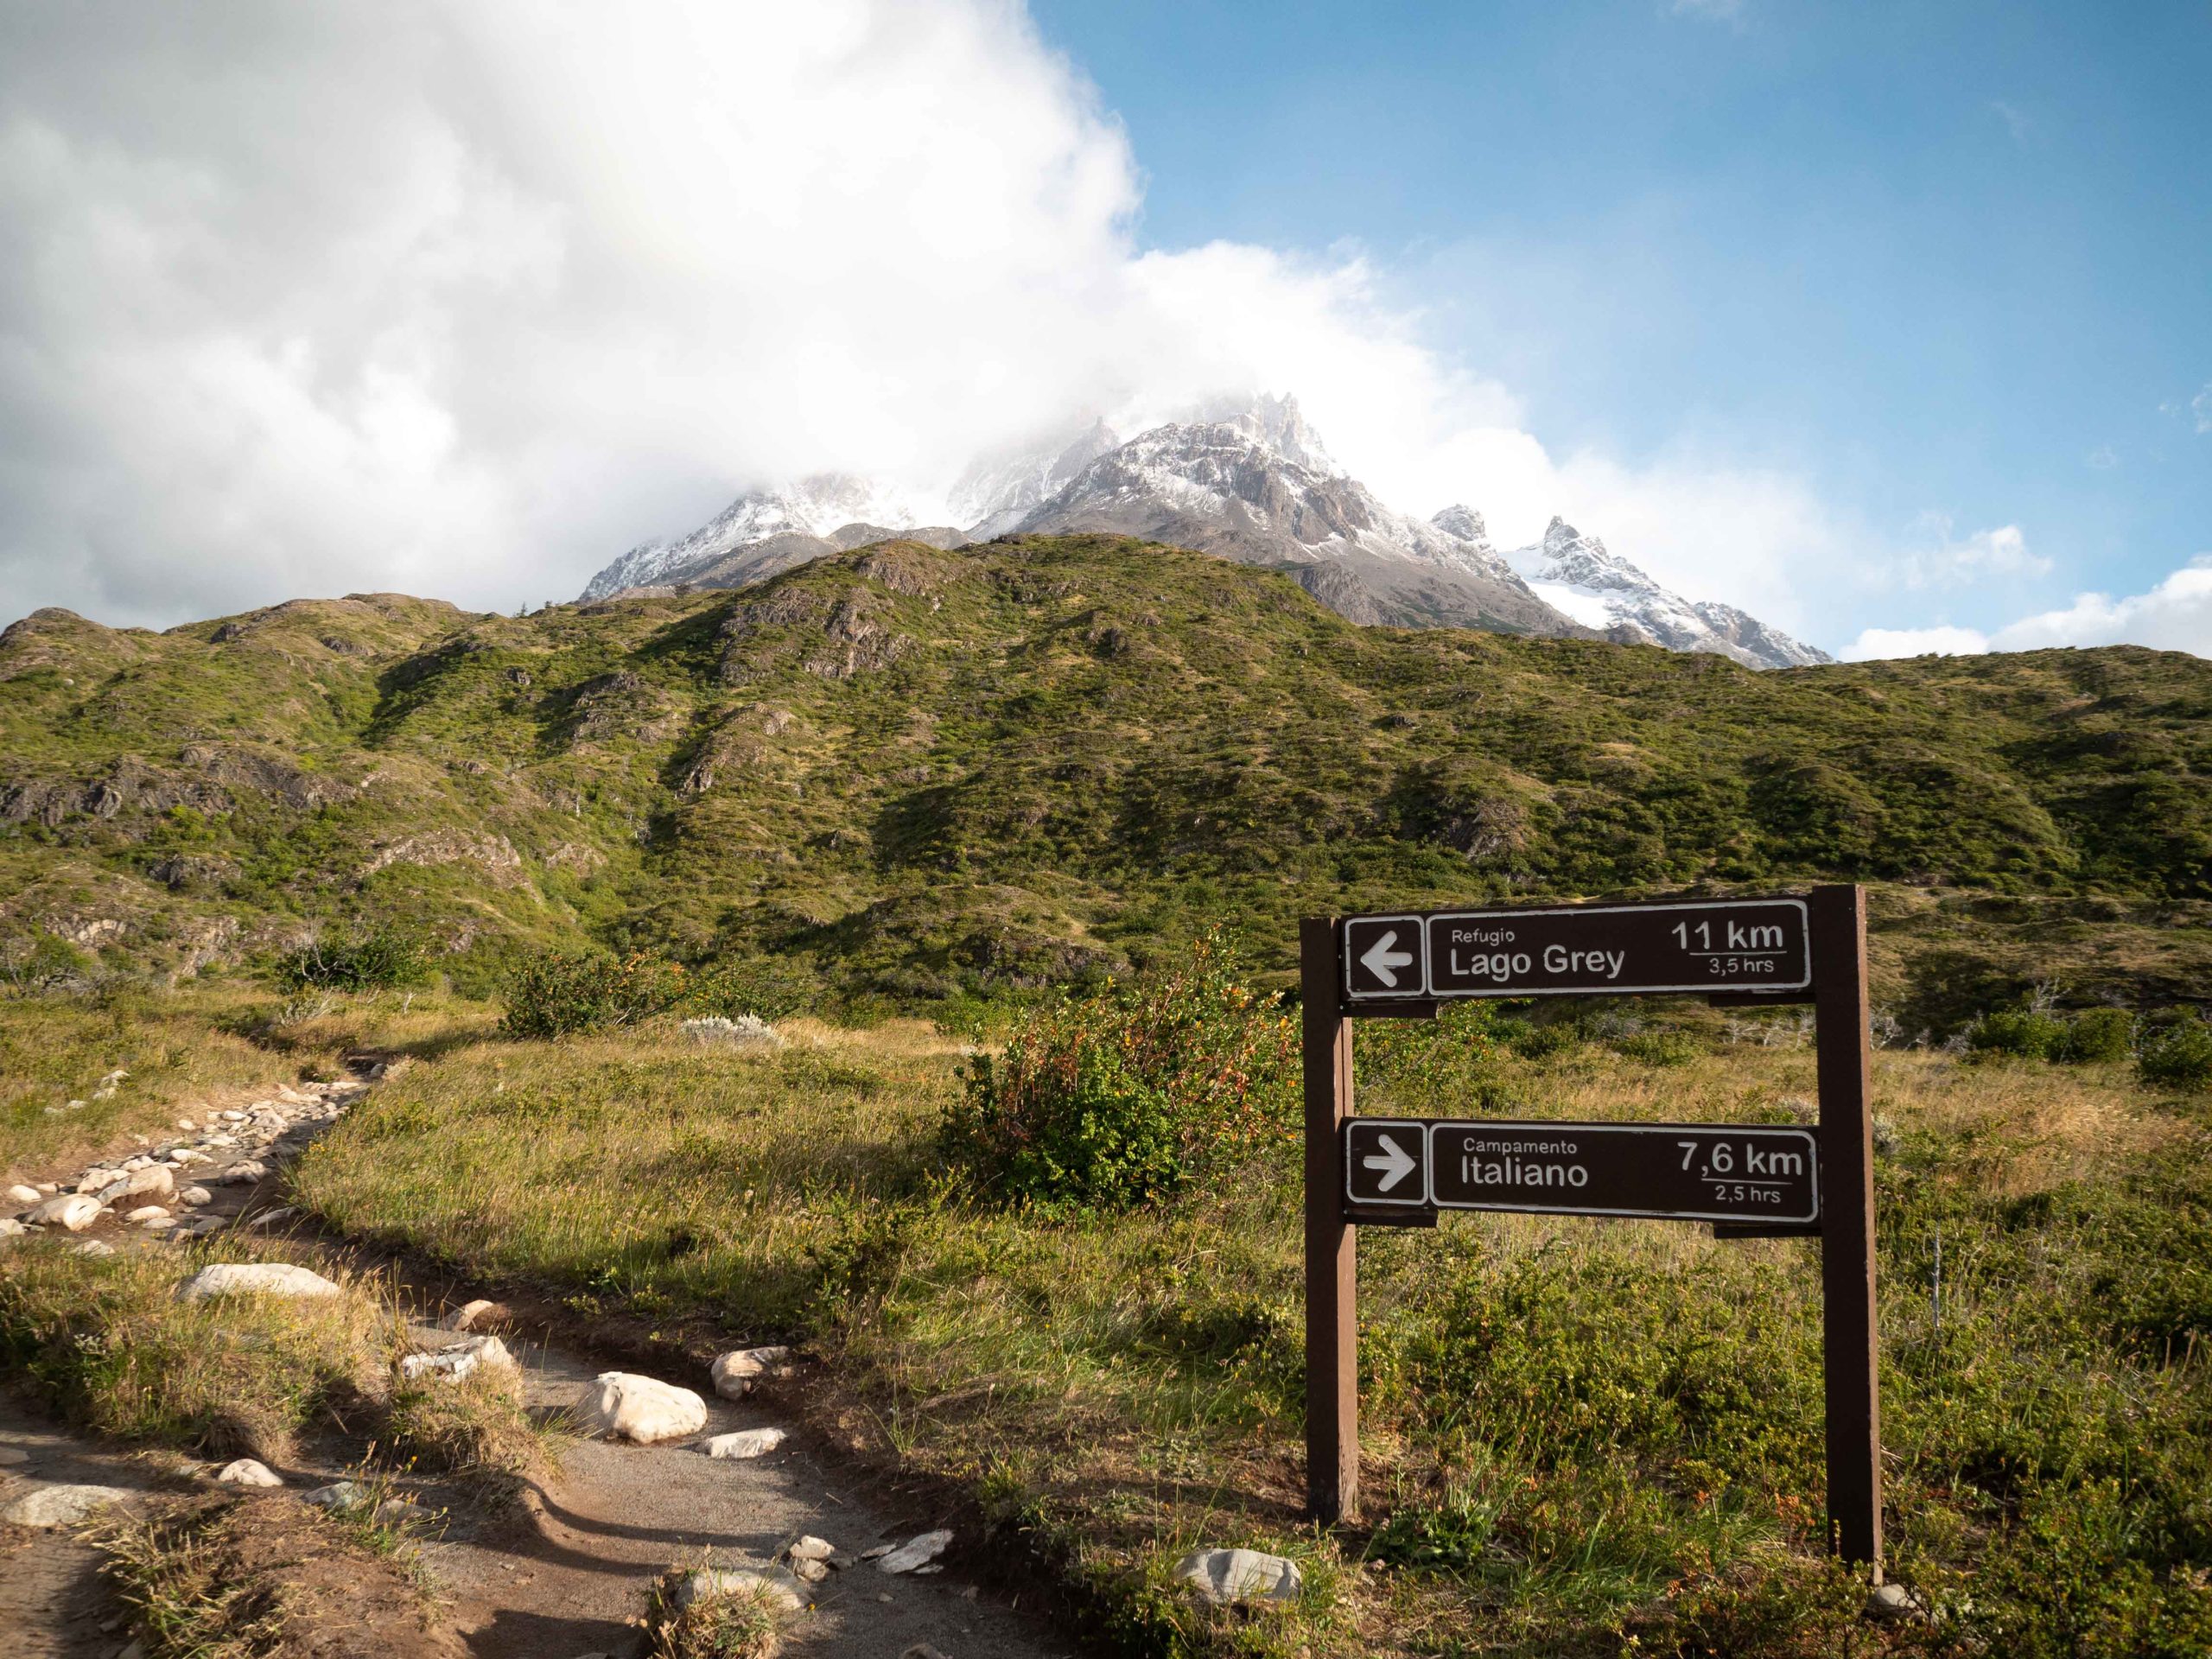
The first thing that came into my mind when thinking about doing the trek without guide, was the possibility of getting lost in the park. But let me tell you, it is basically impossible to lose the path. We hiked the entire trek without even having a map.

Another tip is getting up as early as possible every day, so you have enough time to do your planned kilometers and don’t have to hurry. You should get to the campsite before sunset and if you don’t make it in time, there is nobody who gets you.
Finally, try to minimize the weight of your backpack. It’s easier said than done, but trust me, you’ll be thankful about every gram less. Even though I still had about 10kg because of the sleeping bag was so heavy, there was nothing I could throw out more.
If you want more information, here is another amazing blogpost about how to hike without a guide.


No comment